Saturday, May 29, 2010

Your having a baby!! In Germany!!

One of my dearest friends and deployment battle buddy is having a baby! I am so excited for her and her husband...they are going to make great parents as they have always been my first choice in sitters for Clayton and would trust them with any of my kiddos! The downfall of Army life is that I have made some great friends to only have to say goodbye to or at least see ya in a few to as we all get stationed all over the place.

Angie and Andrew have moved with us since the hubbies graduated from commissioned and we have been through some hard and great times together and we miss them terribly! When we moved to California they moved to Germany...could we be any farther apart? Well when I go that phone call saying they were going to have a sweet little baby I was thrilled yet sad that I can't be there to enjoy this time with her.

When I got the Going Places Cart I was buying with the intention of making some great things for my sons room that is decorated in construction zone. Going Places has some great road signs to work with...but the surprise I found in the pregnancy designs is great! I knew whe Angie called me I was going to use the "BUMP" designs as I called them and I think this card is cute...I hope she does too : )

They have always talked about naming their babies 'A' names since they are both 'A' names so I thought it would be cute to place some 'A' names as a boarder 

Recipe:
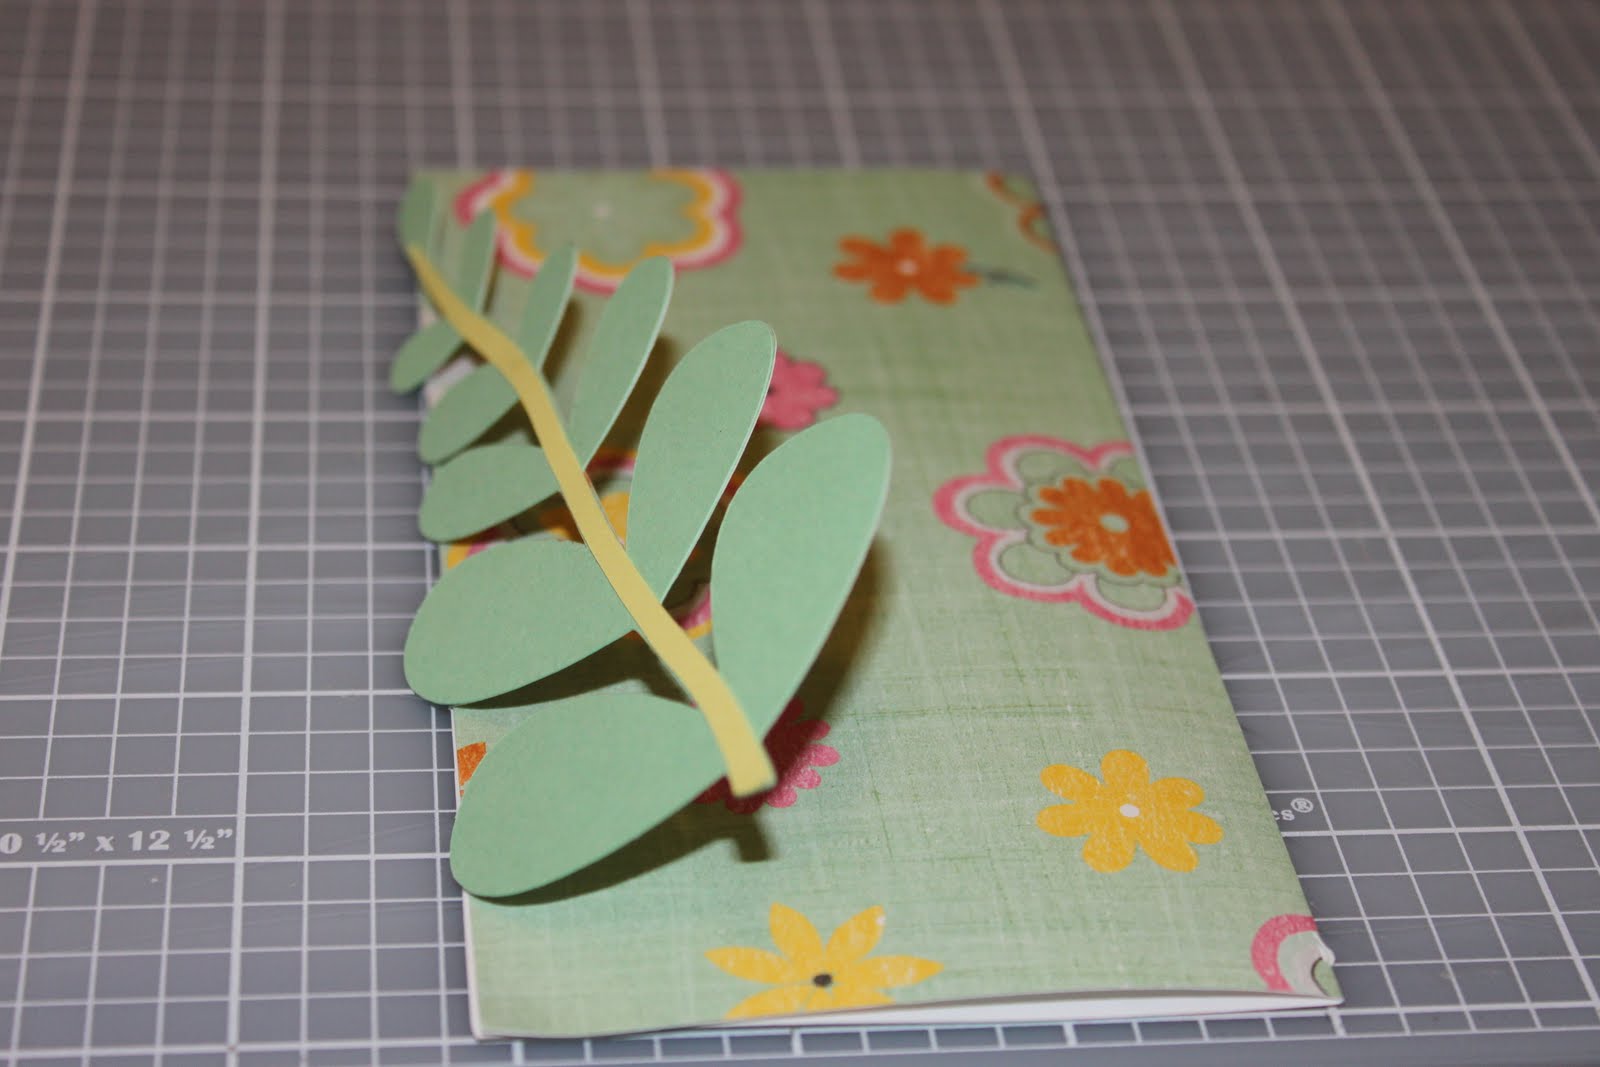
Card: 5 1/4" Going Places
5" Going Places sign...Pregnant Lady
(sign was glued on the inside of the card to show through the window on the card)
Bump: 1" Going Places
Pattern Paper: The Paper Studio
Growing sticker: Pebbles Inc
The baby stickers: Me and My Big Ideas


Added extra... when I cut the preggers lady out and used the outline on the card it left me with the preggo lady to use again and since I feel like every week I am finding out about another pregnant friend it's great to get so much use out of one cut!

Teacher Appreciation

Last week was teacher appreciation week for Clayton's preschool. They designated a gift idea for each day and Tuesday was card day with the theme "Our Teacher's Have the Write stuff"...cute right?
Clayton has 4 teachers that he sees throughout his day and I made 4 of these cards only changing the sticker on the front. I realized that I need a Cricut Cartridge that has more school images ASAP!! Bummer buying another cart will be sooo hard...hehehe


I was pretty short on time so the poem is a lot cheesy but hey it was supposed to be from a 2 year old!
 

Of course I am all about using stickers to fininsh off the project and loved these little apple stickers 


Recipe:

Envelope: Cardstock from value pack cut at 4" Plantin Schoolbox
Card:4" Plantin Schoolbox
Stickers: Whipper Snapper Designs, Oriental Trading, DCWV


My favorite biker turns 50!

This is the first card I actually really used my Gypsy. (1)I welded 2 highway signs from 'Going Places' together at 4.5" width. (2)I welded a rectangle from 'Plantin School Box' to the middle of the highway sign to make it some what like the Harley Logo...I honestly can't say what size the rectangle is because I just enlarged it until I thought it looked right : ) (3) I cut 2 highway signs at 4" using the shadow feature. Then I shadowed the rectangle. I used 1of the shadows on the outside and one on the inside of the card. (4) I cut 'HAPPY BIRTHDAY' at .52" using Plantin School Box and '50' at .50" using font from Sesame Street Friends.
All of the paper is from value paper packs:either The Paper Studio or DCWV

I love this card! I know my dad did as well.

Sunday, May 23, 2010

I won! Thank you Creative Critters Cricut Club!

Creative Critters Crciut Club is featuring all of the new cartridges that were released on Hello Thursday from Provo Craft. Each day she and 3 other sites including one of my favorites My Pink Stamper are featuring a different cartridge and giving amazing giveaways!! Both of these ladies were giving away the new Toy Story cart and I love it and basically need it so of course I entered both giveaways. CCCC announced her winner this morning and unfortunatly I didn't win the cartridge but I did win a really cute set of frames that Tammy made and I can't wait to get them...and I will blog about it as soon as they arrive. The best part is that the winner is chosen by using Random.com but Tammy was inspired by all of the comments that she "handpicked" 5 more of us to win the frames she made. I am so excited that she was inspired by my comment because I am inspired by her for sure!!! Plus Robyn at My Pink Stamper doesn't announce her winner until Wednesday morning so I still have a chance!

Saturday, May 22, 2010

Mother's Day Cards

Maybe it is because I am a mother or because I have a great mother but I love mother's day! Between my husband and I we are lucky enough to have 2 moms, a stepmom and 2 grandmothers...that is pretty awesome! So this past week I have been pretty busy card making, my dads birthday is this week also(post on his card to come)!

This first card is for my mom. I chose purple because that is what I see when I think of my mom and I loved the elegance of this argyle.
I used some stickers I found in my collection to spell out mom
   
and these cute little flowers selaed the deal..hehe
       
"Recipe"
Stickers: Francis Meyer
Everything is cut at 4.5"
all paper is from my "stash"


This card I did for both my grandmother and Jason's...it might be one of my favorites!
I loved this patterned paper (The Paper Studio) and have been looking for a reason to use it
This card is trifold of sorts but with that flower as a fold it is less than tranditional
I found 2 of these sentiments in a "Quote Stack" by DCWV

This envelope is so cute and using the liner to accent that cute branch is the perfect peek when the recipient gets this card

This sticker I found is makes a great address label
"Recipe"
Everything is cut at 6"
Patterned Paper: The Paper Studio
Sentiment: DCWV "Quote Stack" vellum
Adress label and solid paper is from "my stash"


These 2 very similar cards were made for my m-i-l and my stepmom.
I wish I had made the grass green but without making the envelope in green also and then cutting the grass off and gluing it to this one I had no idea what to do :(
"Recipe"
Everything is cut at 4.5"
solid paper: "my stash"
Patterned paper: Bo Bunny Press
Brads used as flower centers:Oriental Trading

 
This card I made for Ms. Bettey she is Jason's step grandmother but we love and cherish her as if she were blood. This was one of those cards that the pieces just fell together beautifully and is so simple yet I love it!

Recipe:
Card is hand folded: cut at 8x 3.75
ribbon: American Crafts
Plaid paper is Bo Bunny Press
Sticker is from my stash

I hope all the mothers out there had a great Mother's Day and that my mothers/grandmothers enjoyed their cards!!

Saturday, May 8, 2010

Grandaddy Tommy's Birthday Card

To celebrate Jason's grandfathers birthday I wanted to make him a card to remind him of a favorite pastime...fishing.

I used the frame feature to surround the address

I love these details

I had the cut the fish at 6" because the paper was too thin and ripped at anything smaller

A birthday not complete with Clayton's signature


Sealed with a fish sticker


Everything was cut at 4.5" using Wild Card cartridge...one of my faves!!

Solid paper: from my paper "library"
Patterned paper: The Paper Studio
Fish sticker: The Paper Studio

Monday, May 3, 2010

Birthday Banner and Food labels

I wish I could take credit for the cake but it was made by a fellow Army wife and was fantastic!!
My son turned 2 a few weeks ago and is SO in love with Elmo and Sesame Street. I originally asked for the Elmo Party cart for my birthday and my husband got me the Sesame Street Friends cart instead and I am so happy with it. SSF is so versitile. I love the icon feature and the numbers and all the little details on the characters and I could go on forever!

The two projects I did for his party were a birthday banner and I made food labels for the goodies to go along with tortilla chips (Slimey Salsa, Count Von Count Cheese dip, and Dorthy goldfish).

I recently got a gypsy and thought I could use it to make the layers of the characters using the layers feature on the gypsy but I was unable to figure it out. So instead I turned to my fellow bloggers for some help and landed on the great video collection on You Tube. I had never used the "paper placement" trick and now I am great at it. What a great trick!! I always wasted so much paper by using the one color at a time one layer at a time method...not anymore!!!

Some up close shots of the characters:


The recipe:
All solid paper: The Paper Company Value Pack
Patterned Paper: The Paper Studio: Back to Basics: precut 4.5X6.5
Oscar and Count Von Count silver metallic is from a scrap pack
I cut everything at 6" any smaller and the details ripped


Hope you enjoyed!